Adding a new printer on a Mac computer
NOTE: You must run Admin By Request first to allow access to install a local printer. ![](https://attachment.freshservice.com/inline/attachment?token=eyJ0eXAiOiJKV1QiLCJhbGciOiJIUzI1NiJ9.eyJpZCI6MTkwNDU5MDYyNTQsImRvbWFpbiI6InR0c2QuZnJlc2hzZXJ2aWNlLmNvbSIsInR5cGUiOjF9.rjdiDLsZ4Y8erbM4NcuAJ1jUeUAzlahqz79fOSa96rQ)
How to setup a new printer on your Mac computer using an IP address.
September 2023: Updated for macOS 13 (Ventura)
1. Click on the Apple symbol at top of menu
2. Select System Settings
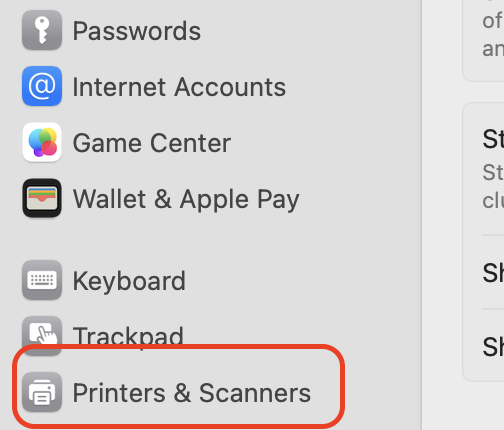
3. Select Printers & Scanners - bottom of page
![](https://attachment.freshservice.com/inline/attachment?token=eyJ0eXAiOiJKV1QiLCJhbGciOiJIUzI1NiJ9.eyJpZCI6MTkwNDE3NTUyNzQsImRvbWFpbiI6InR0c2QuZnJlc2hzZXJ2aWNlLmNvbSIsInR5cGUiOjF9.gIWOuw_Cr9WtyvvHcvLPSlbmfQ9CjS4oD6Jx-jVR2fY)
4. Click the "Add Printer, Scanner, or Fax" button (bottom of page) to add a new printer and then select the globe symbol under the words "Add Printer"![](https://attachment.freshservice.com/inline/attachment?token=eyJ0eXAiOiJKV1QiLCJhbGciOiJIUzI1NiJ9.eyJpZCI6MTkwNDE3NTUzMTAsImRvbWFpbiI6InR0c2QuZnJlc2hzZXJ2aWNlLmNvbSIsInR5cGUiOjF9.VWeKCY0l0SEq-Mj3TjvxwlY8gy5ktGasEJOCvWhXljk)
![](https://attachment.freshservice.com/inline/attachment?token=eyJ0eXAiOiJKV1QiLCJhbGciOiJIUzI1NiJ9.eyJpZCI6MTkwNDE3NTUzMzEsImRvbWFpbiI6InR0c2QuZnJlc2hzZXJ2aWNlLmNvbSIsInR5cGUiOjF9.v4ax98FezgF5qK-fBQCMoh_g38uS-MZI31K4EEQ_Ppc)
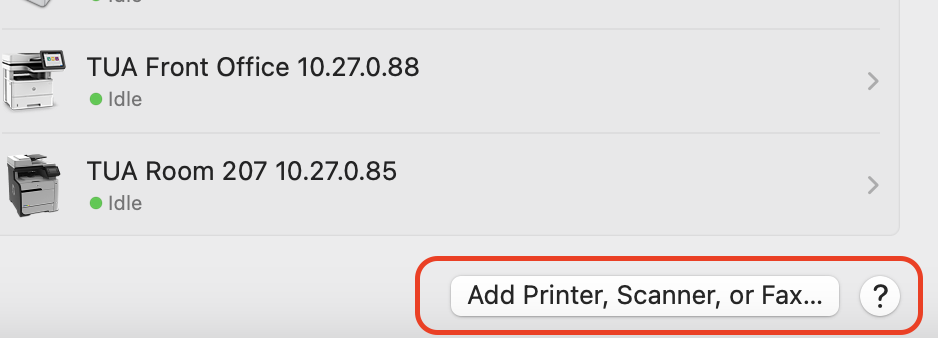
5. In the Protocol pulldown menu, select Line Printer Daemon - LPD
6. In the Address: field, add the IP address number posted on the front of each printer (for example: 10.20.0.123)
7. Name: The IP address will automatically fill in. Please leave this in place, but you can put whatever you want in front of it. Example: Library (10.20.0.123)
8. The bottom "Use:" pulldown menu should list the printer model. If you see "Generic PostScript Printer" instead:
- First verify the printer is turned on.
- If the printer is on, switch the protocol to HP Jetdirect - Socket, delete the last set of numbers eg 123) from the IP address and then add them back. This will force a re-scan and hopefully recognize the printer.
8. Click Add
All done!